Making a Two Camera Educational Video is Easier Than You Think
The last couple of weeks I’ve been working overtime making content for the Boomer side of the business. I’ve been helping at High Plains School here in Loveland with their fifth grade beginning brass players and, through the experience realized there is a need for instructional videos that start at the absolute beginning foundational knowledge these aspiring musicians do not yet have. So I’ve been creating what I call the Absolute Beginner Video Series (check out the playlist here).
There are a couple of key concepts and crucial gear that go in to making this series, so I wanted to explain the theory and practice so you can create content like this for whatever your audience needs.
Theory
Content is king. What these videos must do is educate the audience in an engaging way so they want to watch and put the information into practice. How do we do this? Let me as you a question. Have you ever watched a home movie? One continuous video that offers no change of perspective that just drags on with no goal in site? This is called a long shot and it can build tension (Hitchcock used it to great effect) but in an educational video we want the viewer relaxed, not wondering when the tension will be released.
The easiest way to release this tension is with multiple cuts and changes to perspective. This can be achieved with a single video source in editing by zooming or fading, but a more effective strategy is to have multiple camera angles. You can do this with a single camera if necessary, but then you’re talking about doing multiple takes of the content and splicing the best ones together. This can work, but you run the risk of the dialogue not flowing naturally.
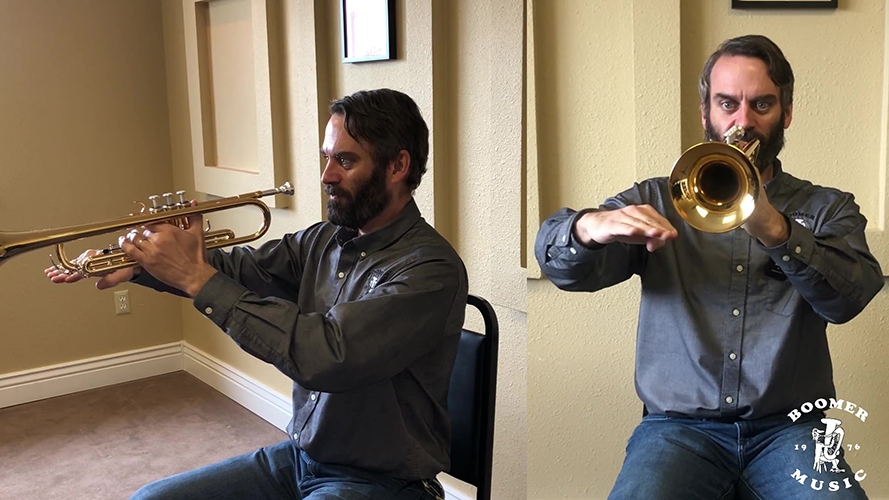
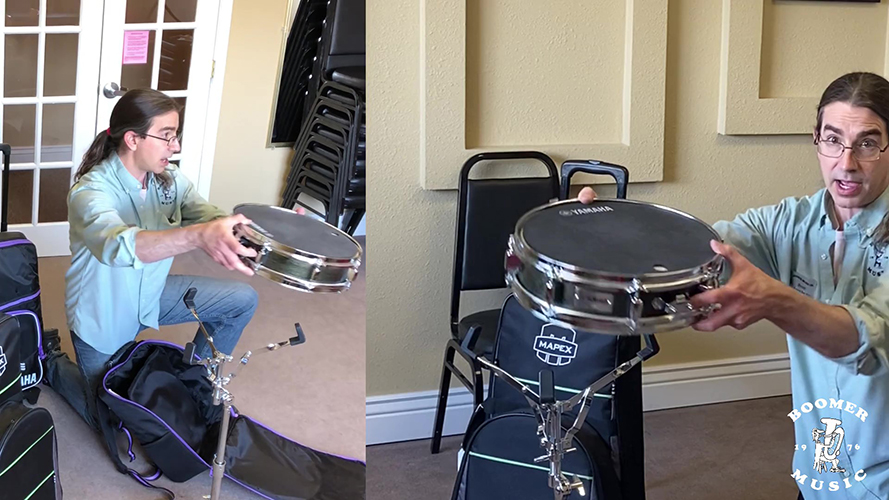
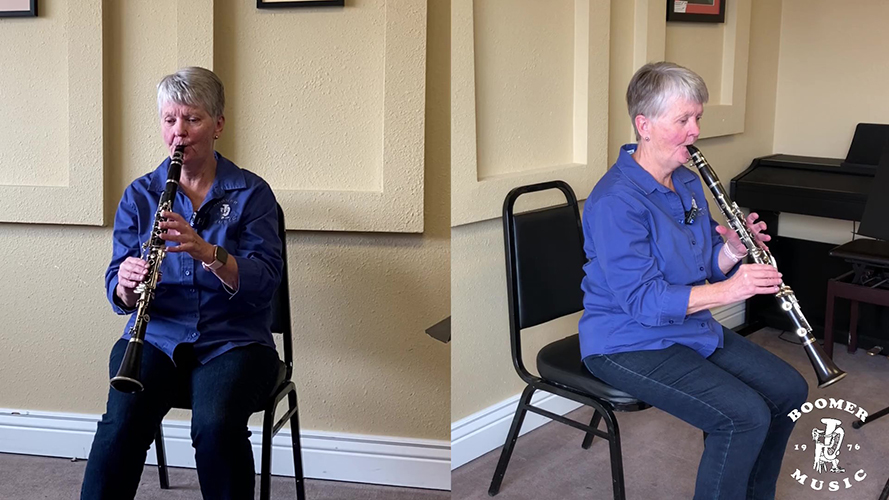
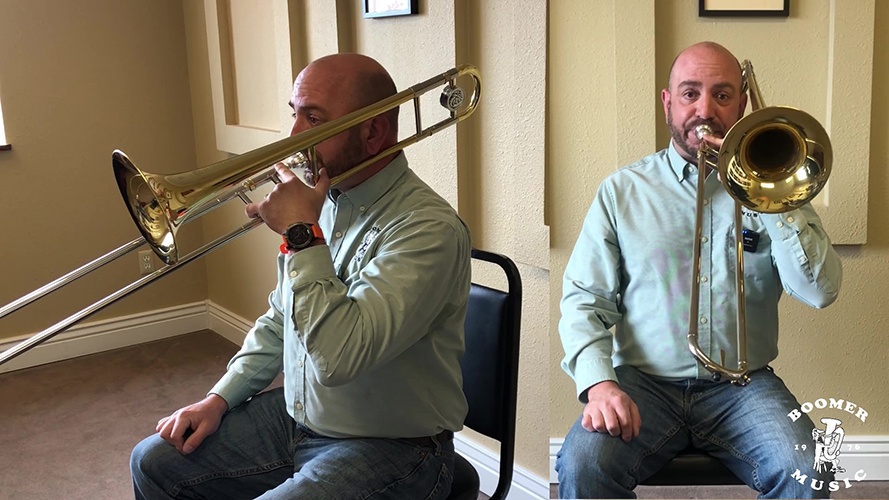
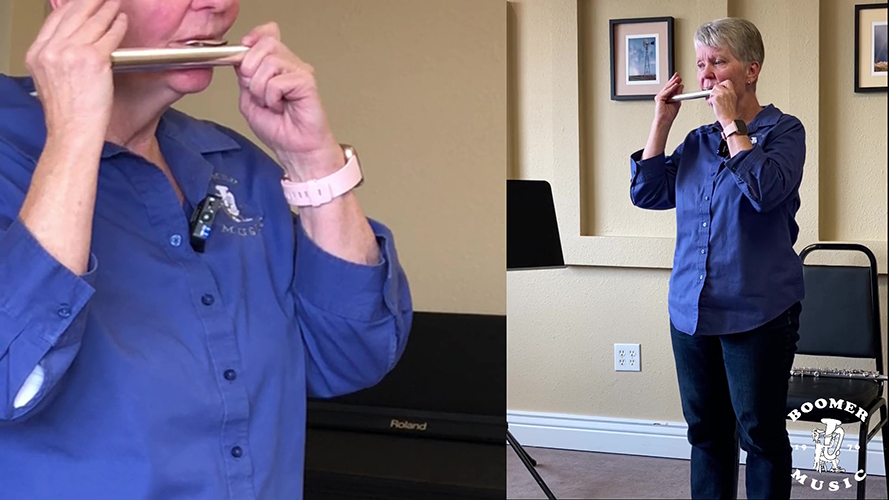
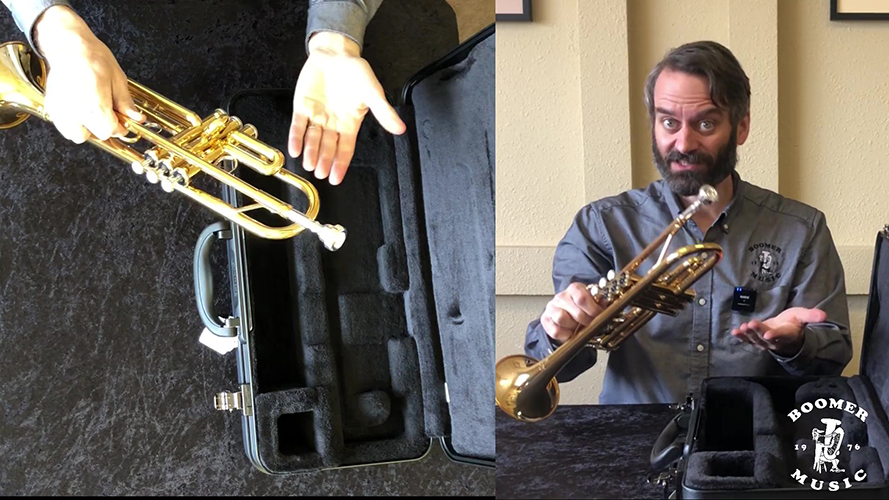
For this reason my preference is to have multiple cameras running simultaneously with one single audio track. The audio can then flow conversationally in a single take and you have options for the best camera angle depending on the content. The caveat to this is the angles must be substantially different, otherwise it will feel like a long shot. In the case of this video series two cameras make the most sense because we have only one person presenting but they sometimes are demonstrating a concept that needs to be seen up close. So we set up one camera in front (as though they were presenting to an in-person audience) and another overhead or to the side.
With the video planned out, the next step is to consider the audio. Ideally we want one audio source that can be synched to both video tracks. Historically I’ve used corded studio microphones for this purpose, but given the fluid nature of this video content a wireless system makes more sense. This allows the presenter to stand, sit, walk, etc. and not worry about mic position or tripping over cables.
Equipment
The camera I’ve been defaulting to using is my iPhone. It’s already in my pocket, so it is cheaper than buying a dedicated piece of equipment and I already know how to use it. The video quality is quite good, certainly enough for the content I am trying to create, and I still have my old one from my last upgrade so a second camera cost exactly zero extra dollars out of pocket.
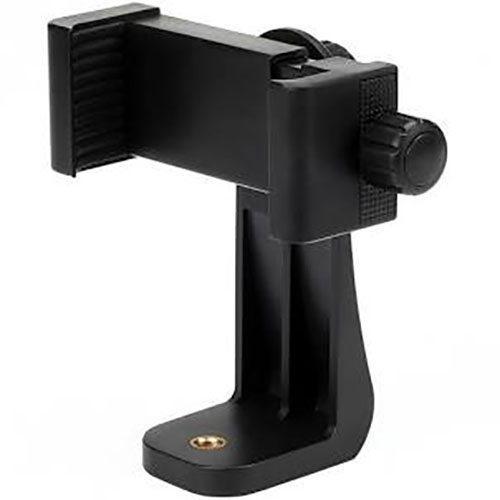
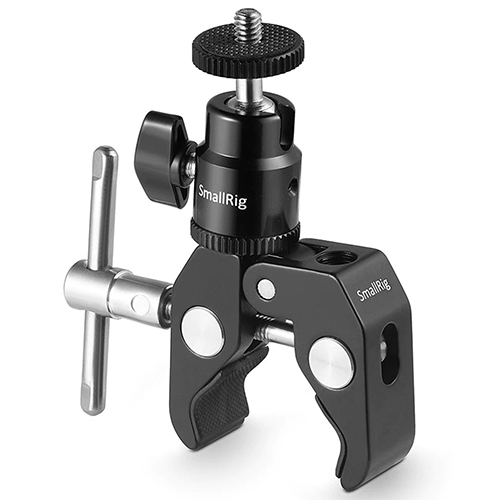
I am not trying to create realistic man on the street videos, so the cameras must be stabilized. This is done with the Vastar smartphone holder connected to the SmallRig Clamp Mount. This can then be connected to just about anything, usually a microphone stand, though I’ve been connecting it to music stands, chairs, and even the rear view mirror on my car. This is one of the most versatile pieces of gear in my bag and I cannot stress enough how much you will use it. You will need one for each phone you are planning to use.
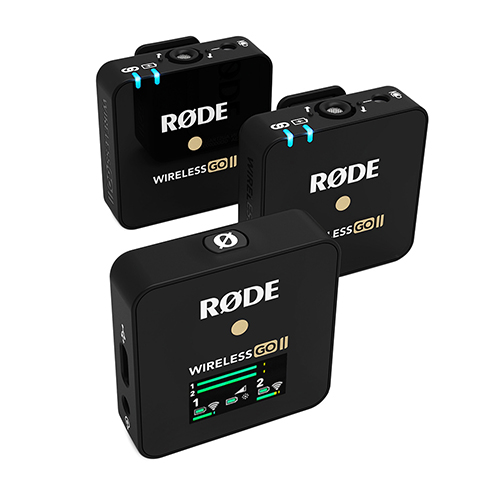
For wireless audio, I have quickly fallen in love with the R0DE Wireless Go II. In this case I have only bee using one transmitter, though it would support two seamlessly. The killer app to this is I can record the audio directly into the smartphone. This saves using an interface or computer to capture the audio and also guarantees that it is synched up to that video. This unit has level monitors on the receiver, so I can see that it is recording and that the signal is not too hot. The only down side to using the 3.5mm output and connecting that into the phone is you cannot monitor the audio live. I have not needed this as a feature enough to have figured out how to do it, but I wanted to caveat that I have not done this yet.
What I will say is that the audio quality of this unit is fantastic. Despite being omnidirectional I have had zero problems with extraneous sounds bleeding in to the point that the last few videos have had no sound editing of any kind. In other words, my expectations have been massively exceeded.
Considerations
When setting up your cameras make sure the presenter understands what will and will not be in frame. You can do some amazing things in post production, but you can only edit the video that you actually capture. The concern is that zooming in too far will create a grainy video, and this is valid! But the mistake I have made more often is zooming the camera in too far to create the “perfect shot” and having the presenter shift position slightly and cause my perfect shot to cut off their head or worse, lose them from the shot entirely. Bottom line: for this kind of content, from now on I am going to record as wide a shot as is reasonable and worry about fine tuning the framing in post.
Conclusion
Making engaging and educational video content does not have to be expensive or complicated. Proper utilization of some key pieces of gear and simple concepts will help you to take your video content to the next level and leave you audience anxiously awaiting the next video. If you are ready to take the next step in creating video content like this please reach out to us and we will walk you through the process step by step to make sure you are getting the right gear for your situation and that you know how to use it effectively. And if you would like to see these theories and pieces of gear in use, check out the percussion video below!